This week I was finally able to get back into the studio to glaze my three pieces. Glazing is the process of applying a paint-like solution of minerals to your bisqued (already fired in the kiln once) piece. The minerals then melt at high temperatures in the kiln creating a glassy effect that seals the porcelain making it water-proof and food-safe. Most importantly, in my opinion, it makes a piece unique and cool to look at!
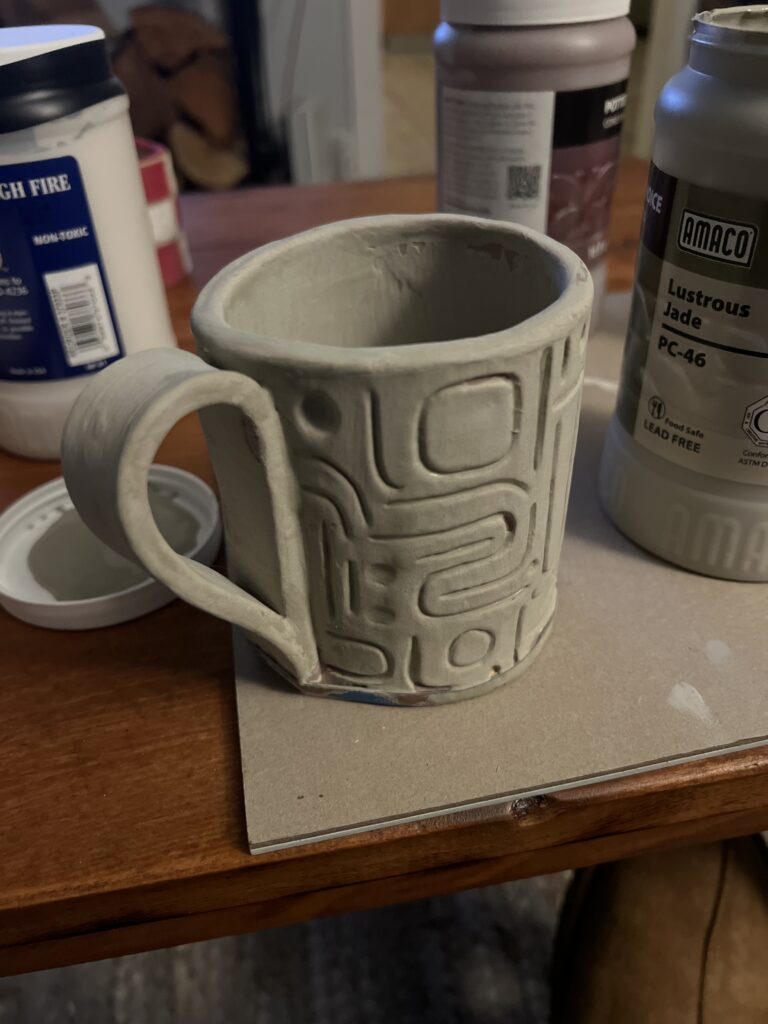
I had mentioned in a previous post, that my carvings on my mug would “make the glaze more interesting”. That is because the glaze turns into somewhat of a liquid glass in the kiln and moves around on your piece before it sets. The carvings give the glaze something to move around and interact with, especially when you layer different colours of glaze. There are lots of different types of glazes you can choose from, some are more fluid than others, dripping and moving more. Typically, a piece will need 3 layers of glaze to be completely covered. Different glaze combinations can completely change the colour of the original glaze colours. There seems to be an infinite amount of combinations and colours you can make by mixing and matching!
Sounds fun right? It can be when you get it right, but very frustrating when you don’t. I’ve fallen in love with too many pieces before they were done, just to not like the glaze in the end. Because the thing with glazing is, you don’t know what it will look like when you apply it! The liquid glaze could paint on red but fire blue because of the way the minerals react at high temperatures. It is also important to apply glaze evenly, too much glaze will pool, drip and swirl where you don’t want it, and too little glaze will show the brushstrokes underneath. Lastly, glazing can take a long time if your painting it (which is what I do), so sometimes it’s hard to find the motivation to do it when you’re not confident it will work out. But I guess confidence comes with practice!
Sadly, I forgot my phone for this class so wasn’t able to take pictures of the process, but I’ve shared some pictures of previous glaze pieces to demonstrate the process. We brush glazed today, which is painting on the glaze. There is dip glazing as well that I’ve never tried, but looks easier. You simply use pointed tongs to dip the piece into a bucket of glaze. But this requires a bucket amount of glaze, which is a lot – and like most things in this hobby, glaze is expensive! So brush glaze it is!

Not the greatest photo of the glaze, but you can see that it looks much different than the final piece. You can also see how the burgundy base layer comes through the green top layer through the carvings!
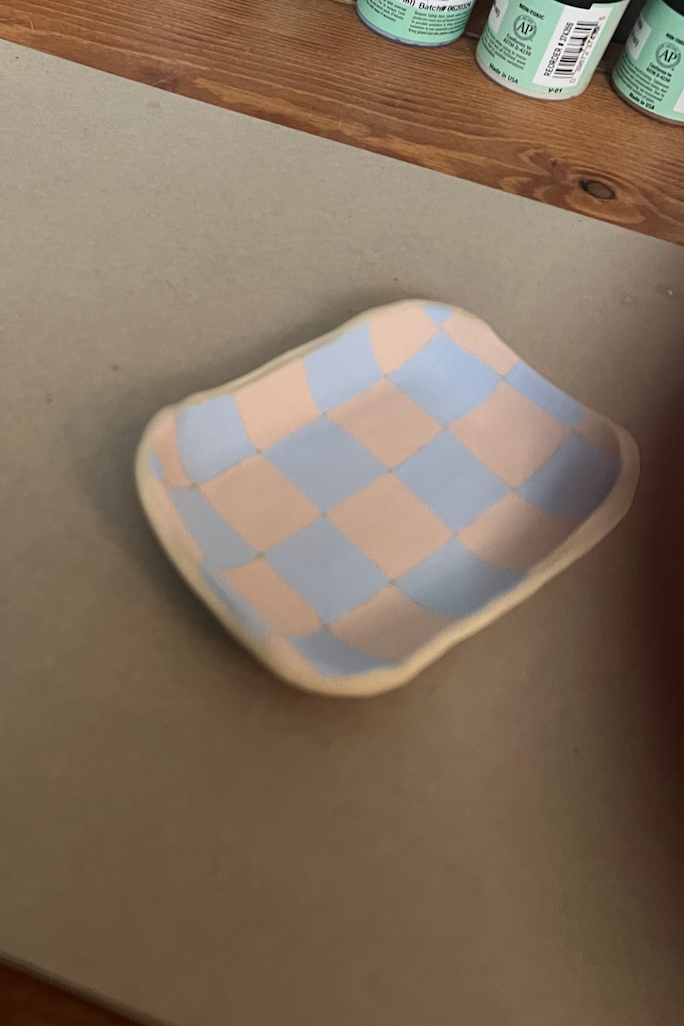
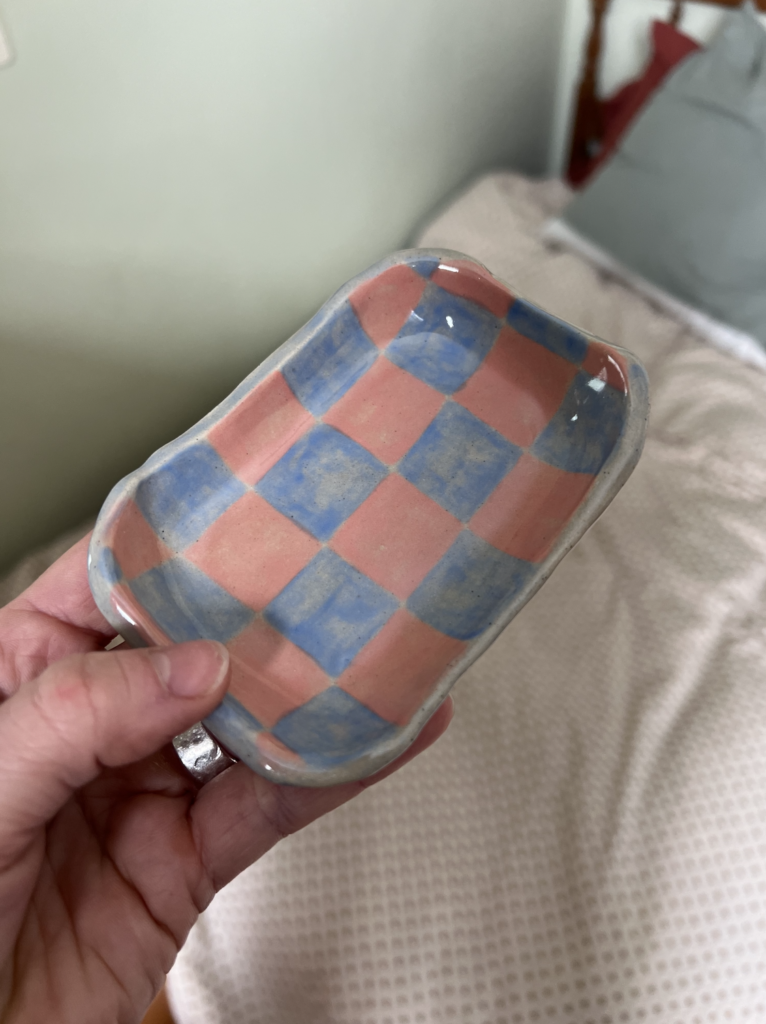
This is an example of under glazing, which allows you to use glazes like paint – they will stay where you put them! The picture on the left is before it gets covered in a clear glaze that then covers the whole pattern with a white layer that melts clear. But it is another example of how the piece looks completely different after it’s fired!
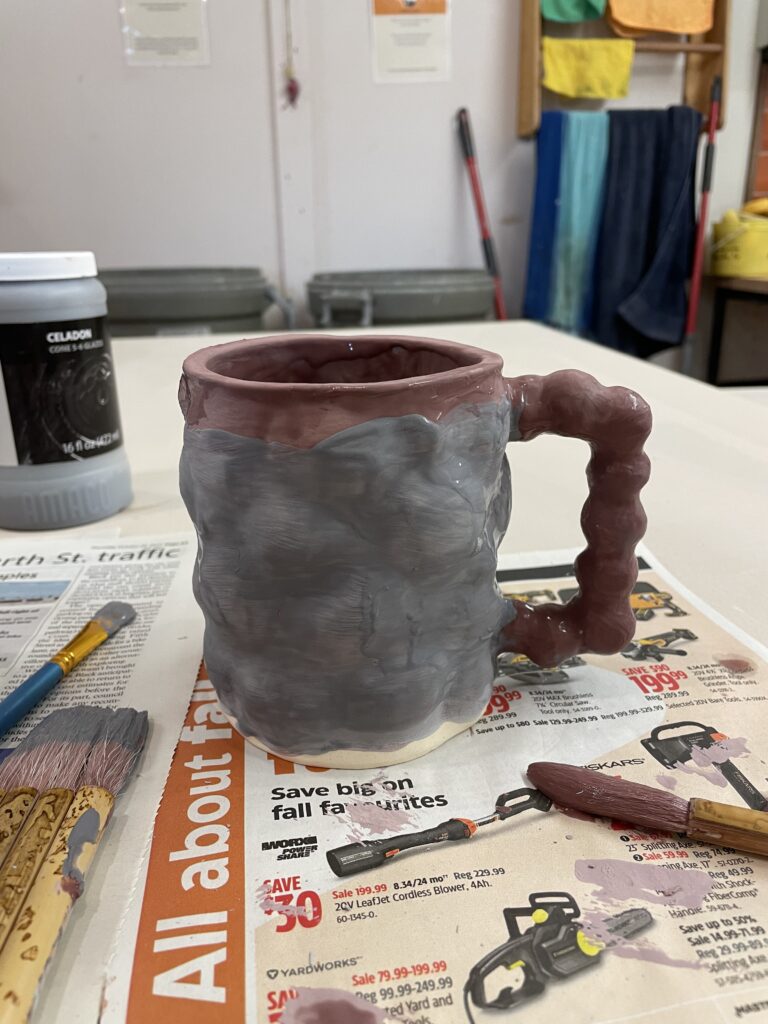
So apparently I don’t have that many pictures in my camera roll of glazed pieces that haven’t been fired… except this one… which is an example of a frustrating finish! I spent so long on this mug for my brother’s birthday, and my glaze layers were too thing and you can see all the brush strokes. I wish I had done the same consistent glaze that was on the inside… but alas now we know!
For my mug I choose to do a base layer of Jade with a honey flux top later. Flux’s are more fluid so I’m hoping it melts over the carving giving it some cool depth over the green! For my second mug, I went with a Cobolt blue base and an Onyx top coat – I have no idea what to expect, but we’re experimenting! And finally, for the bowl I choose a base of marigold yellow, mid-layer of “weeping plum” and a top layer of honey flux … like I said we’re experimenting!
Learned lots of new glazing tips, like switching directions of brushstrokes per layer, swirling glazes in vessels and how to test thickness. We also waxed the bottom which was a new technique. This ensures no glaze gets on the bottom of the mug so it doesn’t stick the kiln shelf when firing (an awful end to a piece). It also means you don’t need to leave a space at the bottom of your piece to prevent this from happening!
Sadly, I don’t think these will be fired and finished by the end of the course so I won’t be able to do a big reveal…. I am signed up to take another single-session wheel throwing course at a different studio next week tho! So I’ll post about what thats like to learn from someone else.


Leave a Reply