This past week we looked at readings that explored learning theory and I hope you had a chance to reflect on what these mean for your own design practice. In class we had a chance to distill and discuss the myriad of concepts and theories presented in thee readings, and reflect on how these might impact the way we ourselves design for learning. I have added the Menti artefacts we co-created to the slide deck below.
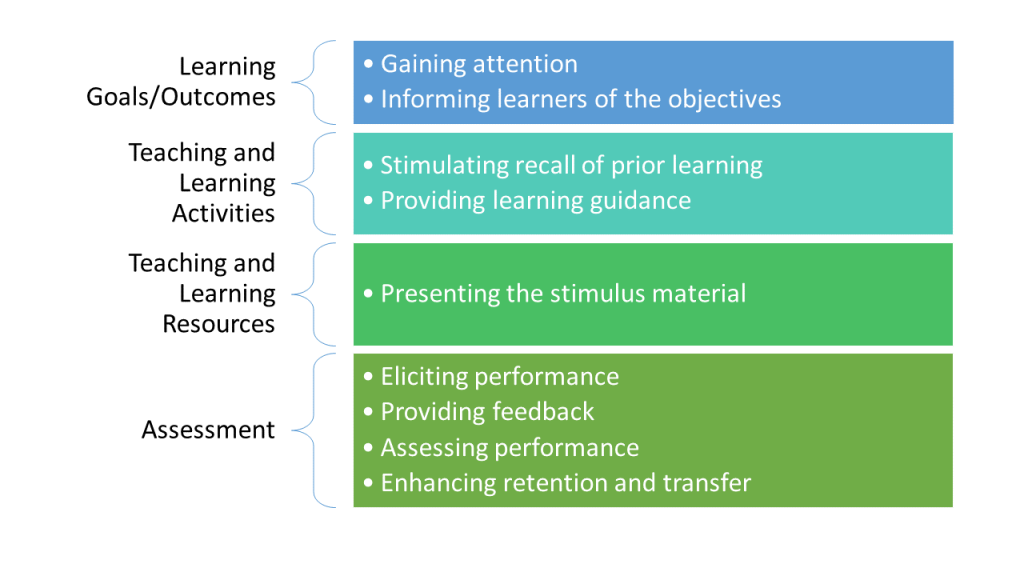
The theme for next week is intentional learning design. I offer three readings on the topic and one five minute video. Each reading is presented with a graphic below that distills the main aspects from the paper. Please leave at least one Hypothesis annotation in one of the readings for this week.
Biggs, J. (2014). Constructive alignment in university teaching. HERDSA Review of Higher Education, 1, 5–22.
Shulman, L. S. (2005). Signature pedagogies in the professions. Daedalus, 134(3), 52–59.
Northern Illinois University Center for Innovative Teaching and Learning. (2020). Gagné’s Nine Events of Instruction [Instructional guide for university faculty and teaching assistants]. https://www.niu.edu/citl/resources/guides/instructional-guide/gagnes-nine-events-of-instruction.shtml
Laurillard, D. (2020). An introduction to the 6 Learning Types. YouTube Video. https://www.youtube.com/watch?v=TSP2YlgTldc
Resources to Bring to Week Four
My challenge for you is to capture a learning activity you currently do, or would like to try, in a diagram or visualization? Here are a few examples for inspiration, but feel free to choose whatever visual approach works best for you, could be a table, document, flow chart, hierarchy, sequence, Prezi, slidedeck, drawing, etc. Be creative here, there is no wrong approach. I am trying to get you to explicitly show a learning design in a brief snapshot. This should not be laborious so try to keep it to one page and don’t spend too much time on this. You will have a chance to go deeper with this visual approach in the final project. We will have a chance to share these next week.
The simplest possible tool to complete this task is using PowerPoint or Google Slides, no kidding. You can save anything selected on a PowerPoint slide as a graphic with a right click or save the entire slide or set of slides as an image using ‘save as’ then selecting jpg or png (download as in the case of Google Slides). See the video below for a demo. Make sure you know how to do this, and consider how you might design creative graphic creation activities with learners using these widely accessible and familiar tools.
This video will walk you though how you can save graphics created in Powerpoint as an image. The advantage of saving as an image is that you can upload to a website, include in a video, document, etc,. or share on social media.


Leave a Reply