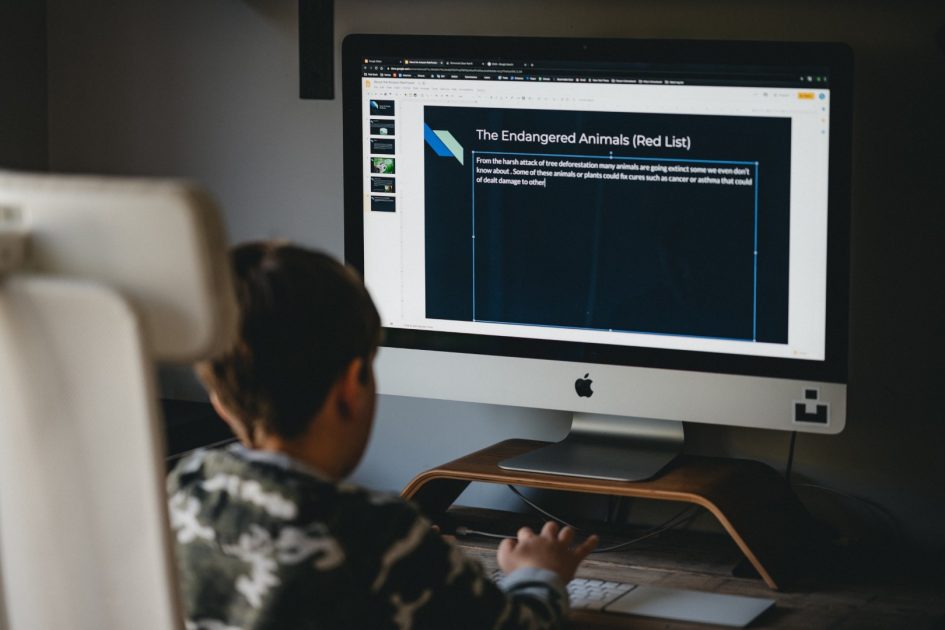
Recording what you are doing on your computer screen has become fairly standard for many educators, this is called a screencast. For flipped classroom activities or to have a video recording of a lesson that students struggle with, giving them the chance to playback and rewind the video, screencasts can be very a powerful learning tool. As a teacher, knowing how to record or capture what happens on your screen and being able to share it with your learners is an asset.
Your screen is your stage, you can add anything you like, a document, a web browser, a graphics program, a slide deck, or a combination or sequence of several applications.
Narrating over top a PowerPoint presentation is a common approach to screencasting. However, capturing dynamic lessons or experiments on your screen are other ideas. Consider the Khan Academy videos as one approach to screencasting. Khan records his screen in the same way he might use a whiteboard in the classroom, showing the progression of mathematical equations, scientific processes, and more.
Also consider assigning your students a project where they could explore and create a screencast. Twitch or YouTube Gaming is very commonly used by young people so they are accustom to watching and even making this type of content. Going ‘where students are’ can be an empowering teaching practice too. Consider how you might use Digital Storytelling as an approach to student assignments, where students can tell a creative story, reflect on their learning, or create a presentation.
How to create a Screencast
If you are using an Apple computer, you can record your screen using Quicktime.
On any platform, Screencastify allows you to create screencast video through the Chrome browser, so it can be used on Mac, Windows, or Chromebooks. For a look at Screencastify check the video below or follow this link to a walk through.
Screencast-O-Matic is another way to create a screencast. View the below video for an introduction to using the tool.
There are other tools available that you might consider:
- Open Broadcaster Software is open source and available for multiple platforms as a downloadable application. It will allow you to create screencasts with multiple video feeds and live stream to the web. This software is a little more advanced but there are many great resources available to help.
- It is possible to use Zoom as a screen recording tool. Simply launch a meeting yourself, share your screen, then hit record to capture the audio and video action.
- Camtasia: Screen Recorder & Video Editor is an industry standard for screencasting and comes with a useful video editor. The software is available for a fee, but a trial version is available if you would like to explore. There is no requirement to purchase the software as part of this course.
How to share a Screencast
If the video is small enough, you can upload it directly into your Brightspace course or WordPress site, in the same way you would add other multimedia. If you go this route, the video is best shared as an MP4 file. Apple computers typically output MOV files so you will need to save/export as MP4 or use a conversion program. An MP4 file will play directly on your site, instead of downloading in the case of MOV.
If the video is larger, you may need to consider the use of Kaltura or YouTube as a place to host your video. There is no requirement to setup an account on YouTube for this course, but you may find it a useful tool for sharing video (or you may already have an account!). Sharing the video as ‘unlisted‘ means it will not show up in search and will only be accessible in the places where you share it. For example, embedded on your portfolio or via a link in an email or instant messaging service. Here is some guidance on sharing an unlisted video.
Photo by Annie Spratt on Unsplash


Leave a Reply