
For EDCI 337, we will be using the Open and Educational Technology Collective, hosted by a team of B.C. post-secondary education IT professionals on BCNet’s EduCloud, so your data is stored not only in Canada, but within B.C. Avoid using Google search as there are many ways to create WordPress but for our class only OpenETC WordPress.
We have created a template for you to get you started. Using this template makes start up much quicker so please follow all the steps included in this blog post. Please note: follow the links provided rather than using Google to search as there may be differences.
To create your blog, please follow these steps:
Part 1: Create an account at opened.ca
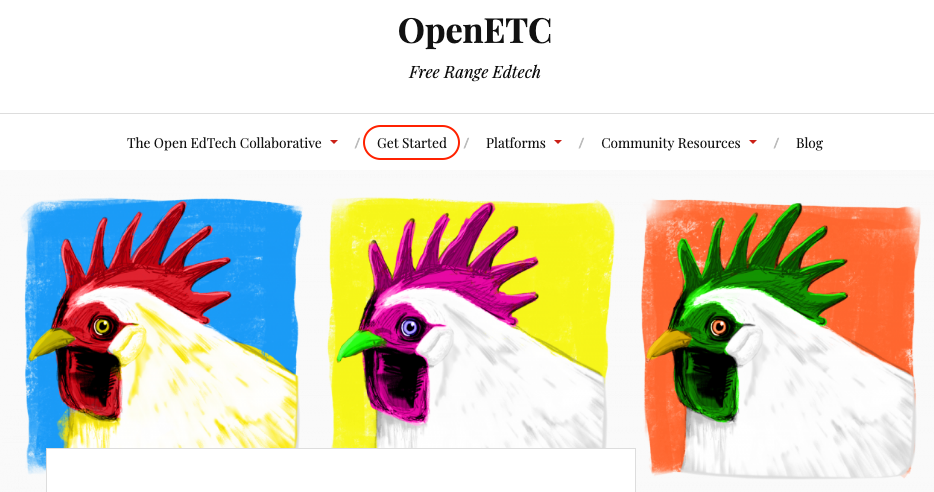
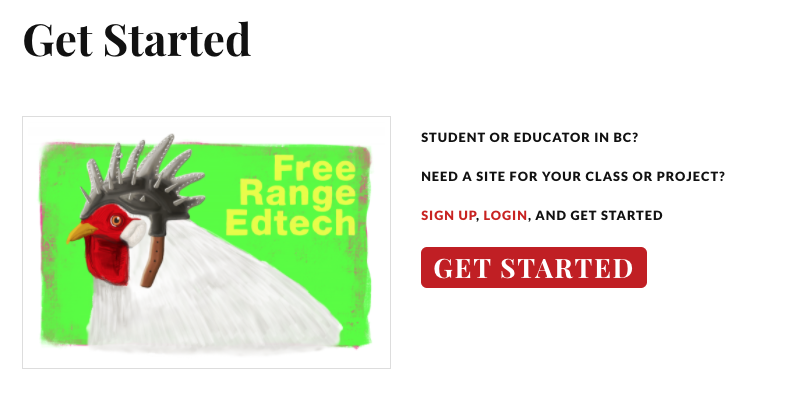
1. Go to opened.ca and click ‘Get Started’.
2. Click the red ‘Get started’.
3. Create an Opened username.

4. Complete the form.
- Remember, if you want to be anonymous, you can use a pseudonym.
- You MUST use your …@uvic.ca email address.
- Make sure you choose ‘Just a username, please.’
- Click ‘Next’

5. Go make some tea, and check your @UVIC.ca email in about 10 minutes.
- Sometimes the confirmation email takes a few minutes, if you don’t see it in 15-25 minutes, check your spam/junk folder. If you don’t see it within 24 hours, email your instructor with the account information and the date you made the request.
- You can check your UVic email at the following address: https://webmail.uvic.ca
- Below is only an example of what your email should look like. It will not be set up for edtechadmin but instead to your email specifically.
6. Activate your username.
- The email will come from ‘OpenETC Administrator’ and will contain a link that you must follow to activate your account.
7. Then you’ll get another Confirmation email.
- Click ‘Log in’.
8. Log in to WordPress
- Use the username and password that were included in the confirmation email. (Do not use edtechadmin)
9. Your Dashboard will be empty.

Part 2 – Create Your WordPress Website Using the EDCI 337 Template
10. Stay logged in to your OpenETC WordPress site and visit this link.
- Make sure ‘EDCI 337 Interactive & Multimedia Learning’ is selected.
- Choose a permanent URL for your site (this cannot be changed at any point), which will be ______________________.opened.ca (Example, rmccue.opened.ca)
- NOTE: You cannot change this later
- Choose your privacy setting
- The top two options (allow search engines) are open on the web, but you can still protect your posts with a password – we invite you to learn openly in this class and encourage one of these two options. If you choose another email instructor for permission.
- ‘Visible only to registered users of this network’ includes all students and faculty in BC who are logged in to an opened.ca site.
- ‘Visible only to registered users of this site’ means that you will have to add users from the class who you want to see the site.
- ‘Visible only to administrators of this site’ means that the site is private and only you and the network administrators can see it.
- The bottom three options are not recommended as will prevent your posts from being syndicated to the course site, so please contact your instructor if you choose one of these options.
- Double check the EDCI 337 template is selected, then click Create Site

11. Site confirmation
- Once the site is created you will get the message ‘The site [Your site title] is yours. [yourURL].opened.ca is your new site.’ There is often a long lag and the below message may last days at times due to volume. Check back often.

12. Where to find your new site.

13. Accessing your Dashboard.

14. Privacy Settings.
- The default privacy setting is that your blog is open on the web, but you can change that if you would like.
15. If you wanted to change this setting contact instructor first then consider…..
- The top two options are open on the web, but you can still protect your posts with a password.
- ‘Visible only to registered users of this network’ includes all students and faculty in BC who are logged in to an opened.ca site.
- ‘Visible only to registered users of this site’ means that you will have to add users from the class who you want to see the site.
- ‘Visible only to administrators of this site’ means that the site is private and only you and the network administrators can see it.
- The bottom three options, as described above, are not commonly used and will prevent your posts from being syndicated to the course site, so please contact your instructor if you choose one of these options.

16. What now that I have my OpenETC Blog up and running?
- Edit your About Me page to share something about yourself. You can choose to use this page as you wish according to your privacy preferences, or delete it if not using.
- Create your first post to capture the setup process, aspirations for the portfolio or class, your inquiry topic and plan, and/or reflections from the first class or the process of creating this blog.
- Adjust the look and feel of your site using templates or the WordPress customizer. Do not spend too much time here, as things will take shape as you start creating content on the site. Look and feel can be changed at any time even after content has been created.
- Review ‘What Makes a Good Blog Post‘ and ‘Changing what Appears on your WordPress Homepage‘


1 Pingback